前言
想玩Jenkins很久了,最近剛好有衝動想玩,就來玩囉~
Setup
這邊採用docker來建制真方便~
$ docker run --name jenkins -d --restart always -p 8080:8080 -p 50000:50000 -v /data/jenkins:/var/jenkins_home jenkins/jenkins:lts
$ docker ps
CONTAINER ID   IMAGE                  COMMAND                  CREATED          STATUS          PORTS                                              NAMES
8220bc6c4a1e   jenkins/jenkins:lts    "/sbin/tini -- /usr/…"   16 seconds ago   Up 12 seconds   0.0.0.0:8080->8080/tcp, 0.0.0.0:50000->50000/tcp   jenkins
接著連上http://localhost:8080
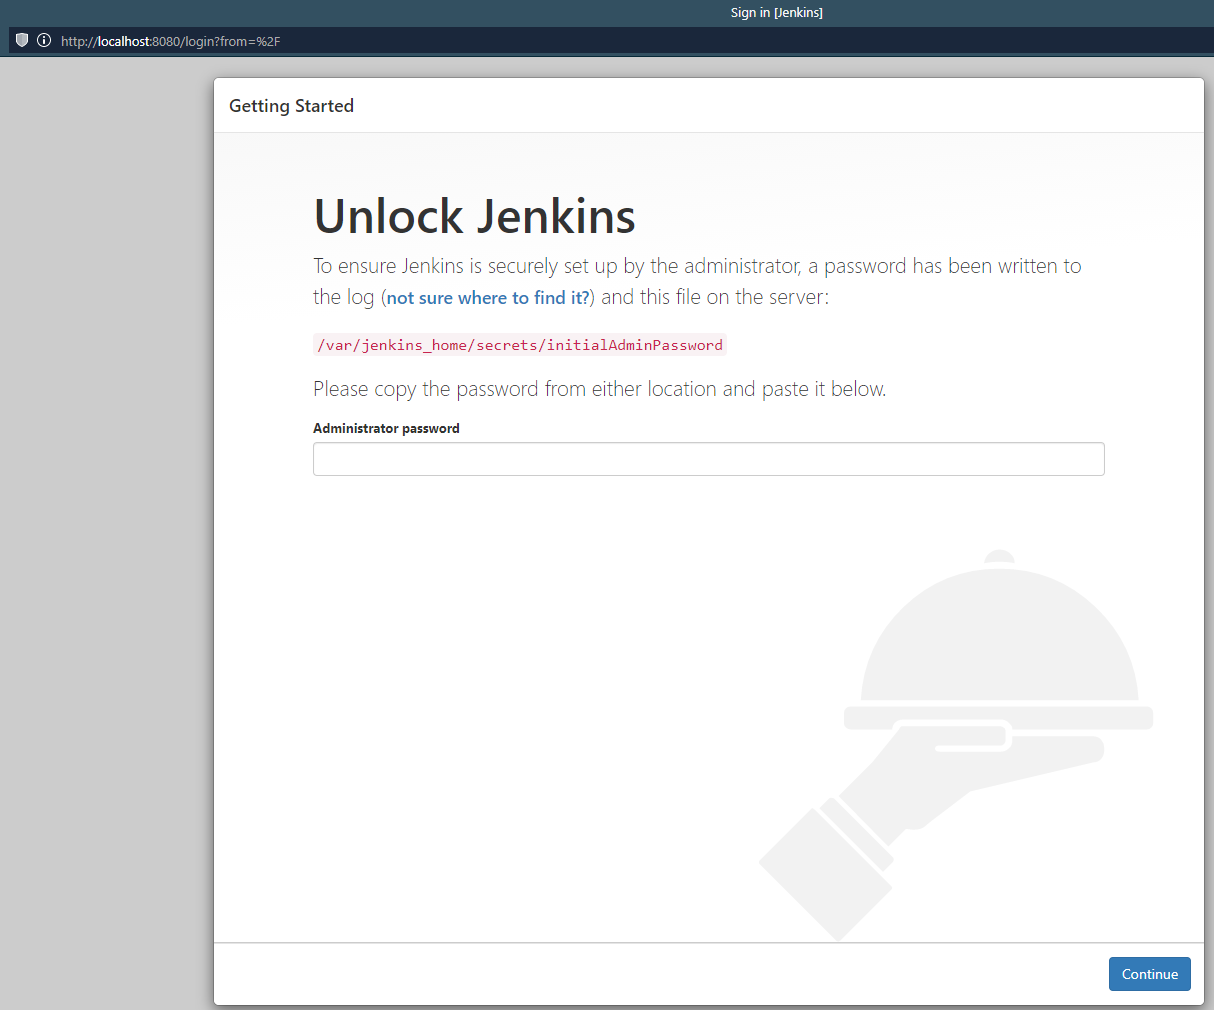
這邊要輸入密碼,他很貼心的跟你說密碼在哪了,就去找吧~
$ docker exec -it jenkins cat /var/jenkins_home/secrets/initialAdminPassword
371ef4e7294145f99b4eebe097ec5052
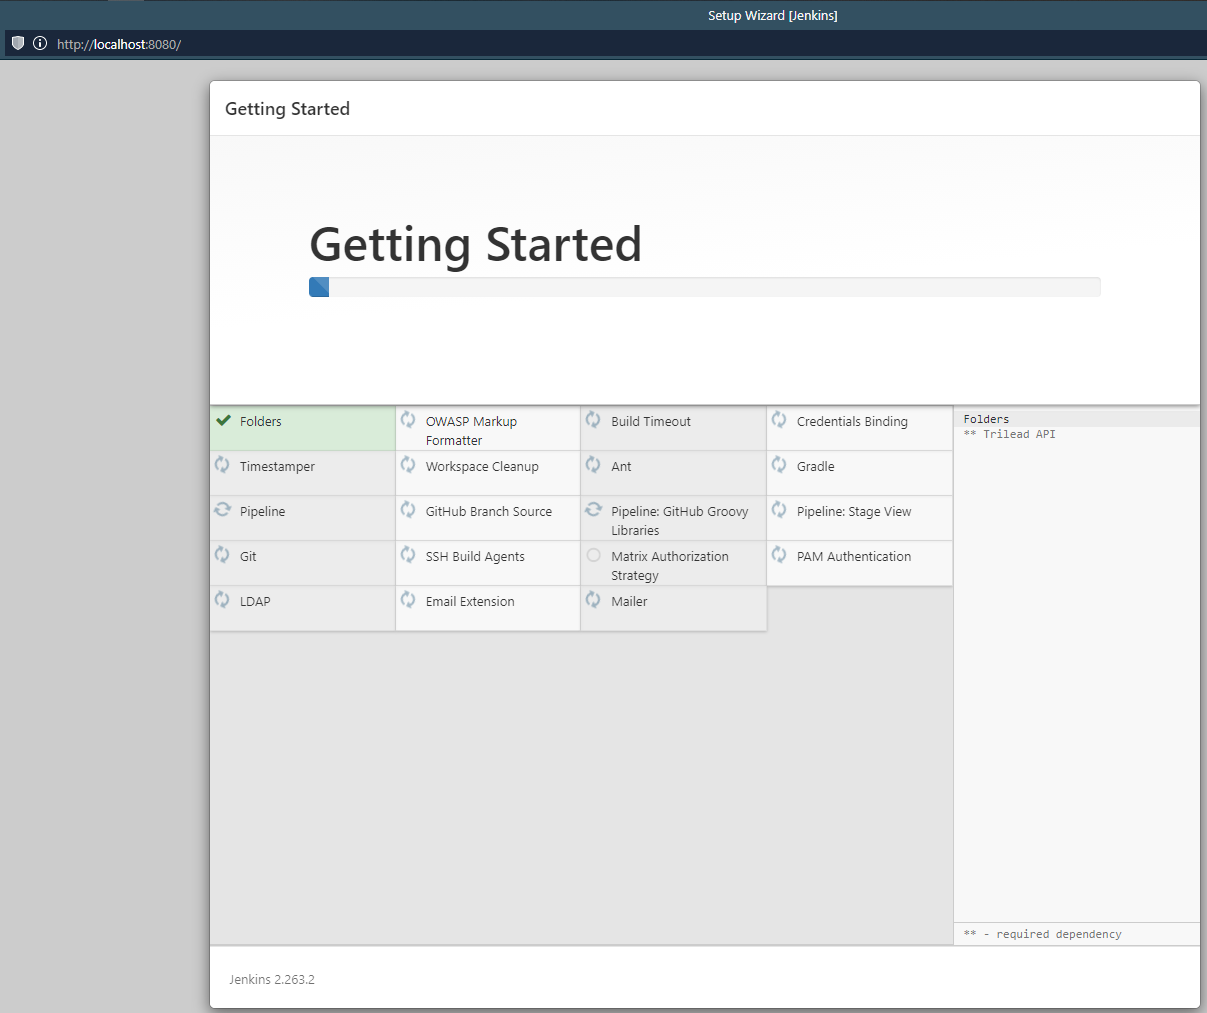
輸入後,會進到安裝plugin的畫面
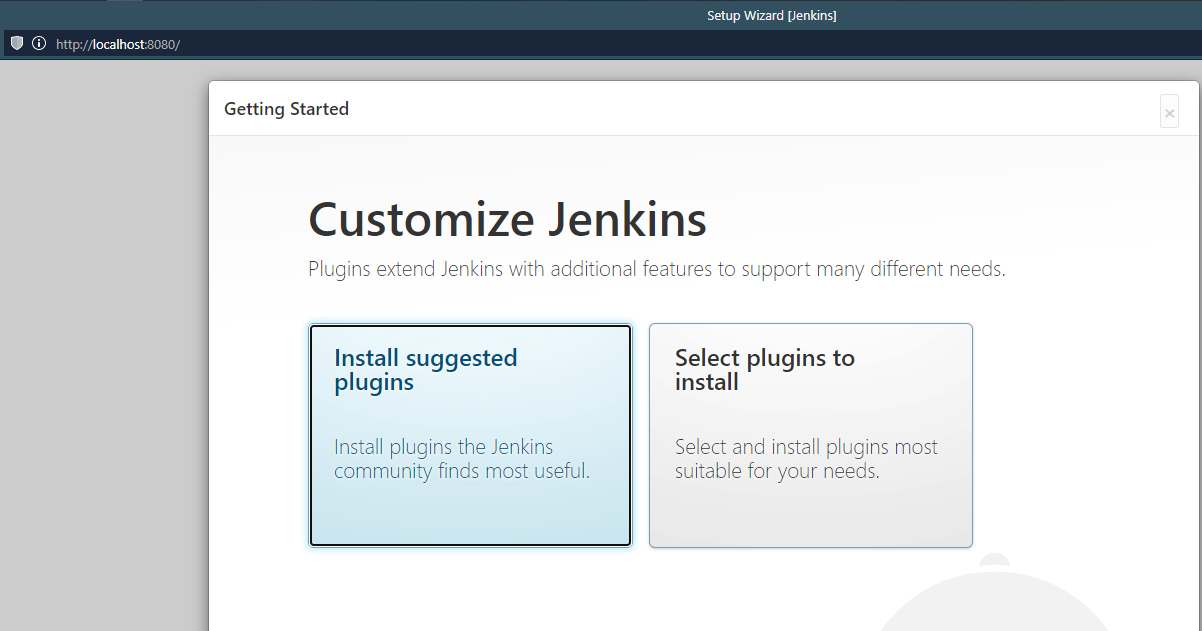
第一次玩,就乖乖按Install suggested plugins吧
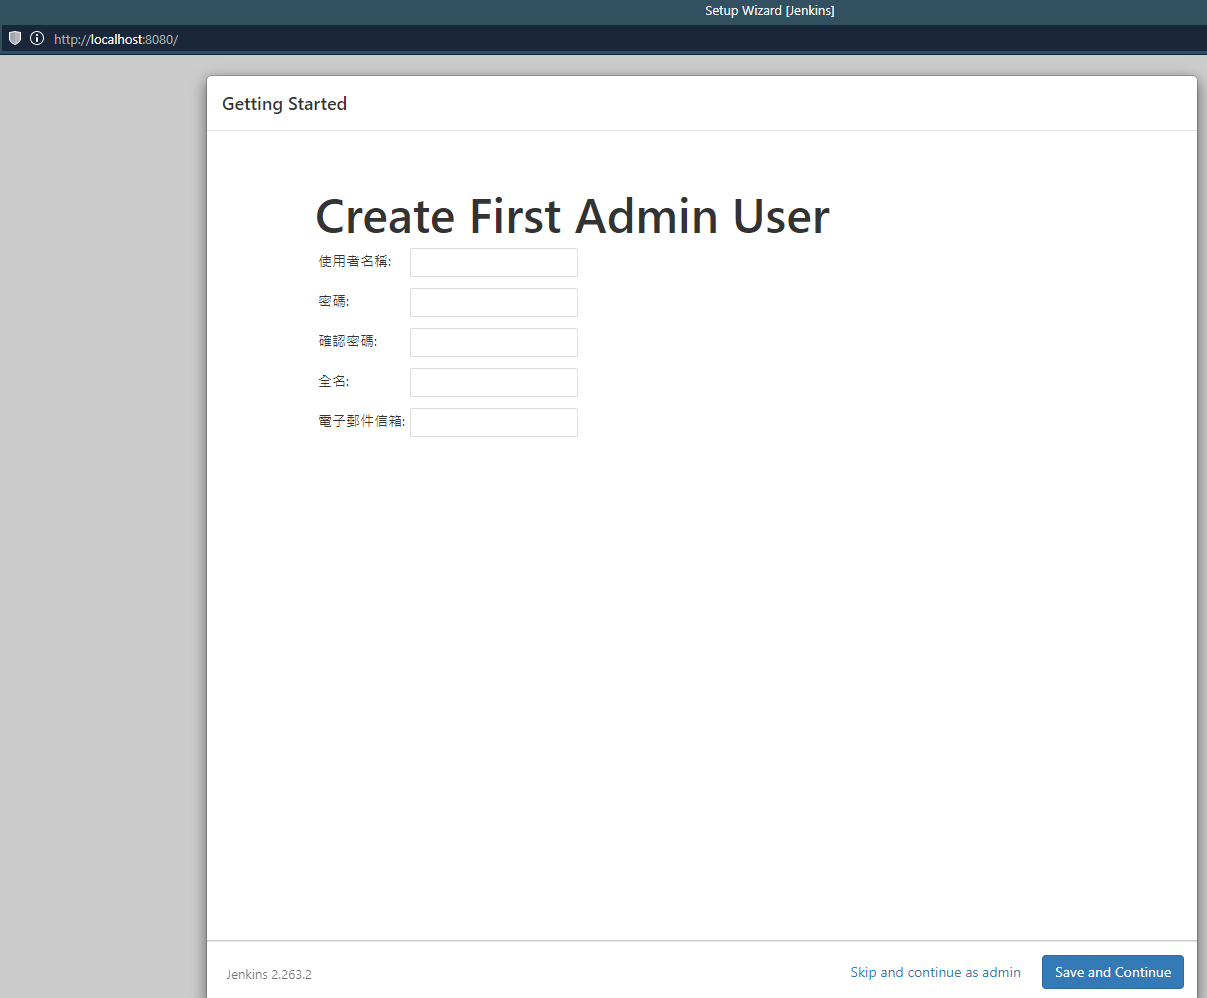
安裝玩後,接著要創建admin帳號
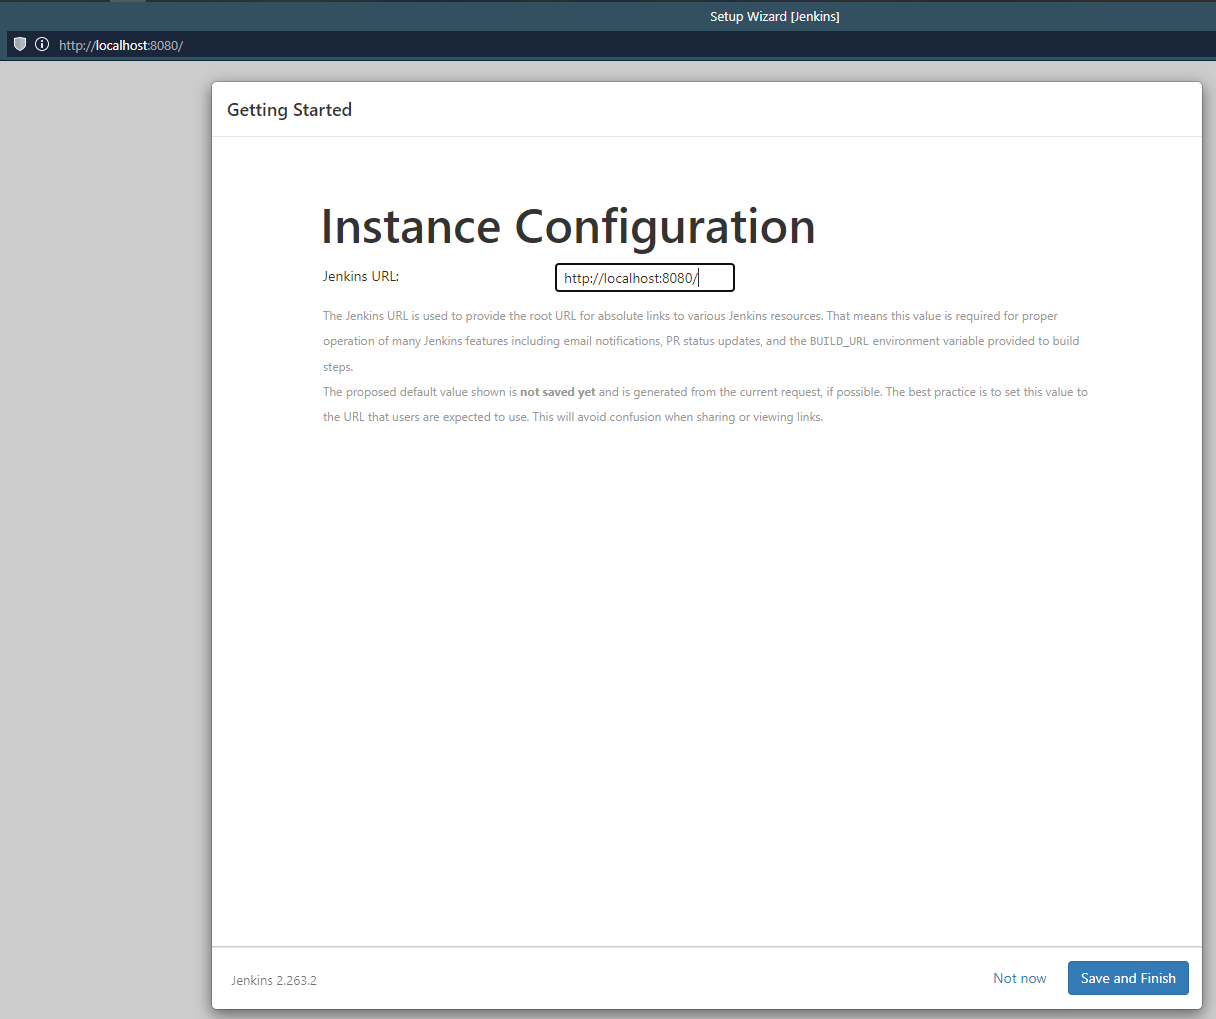
接著設定url,目前只是先玩玩看,就用default吧
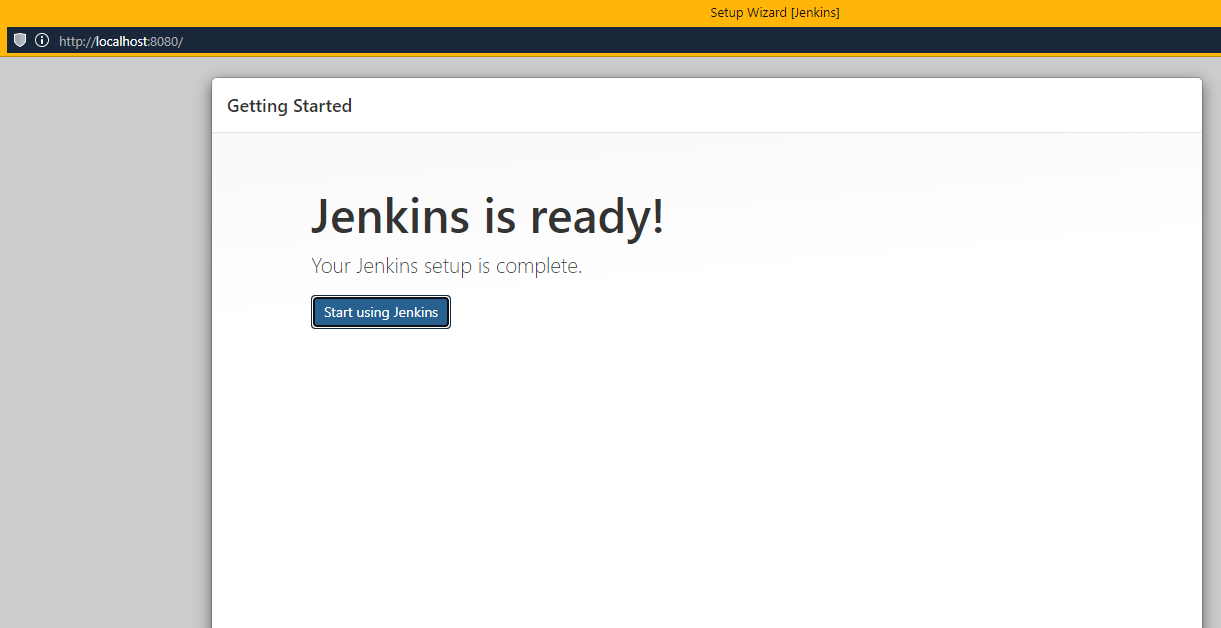
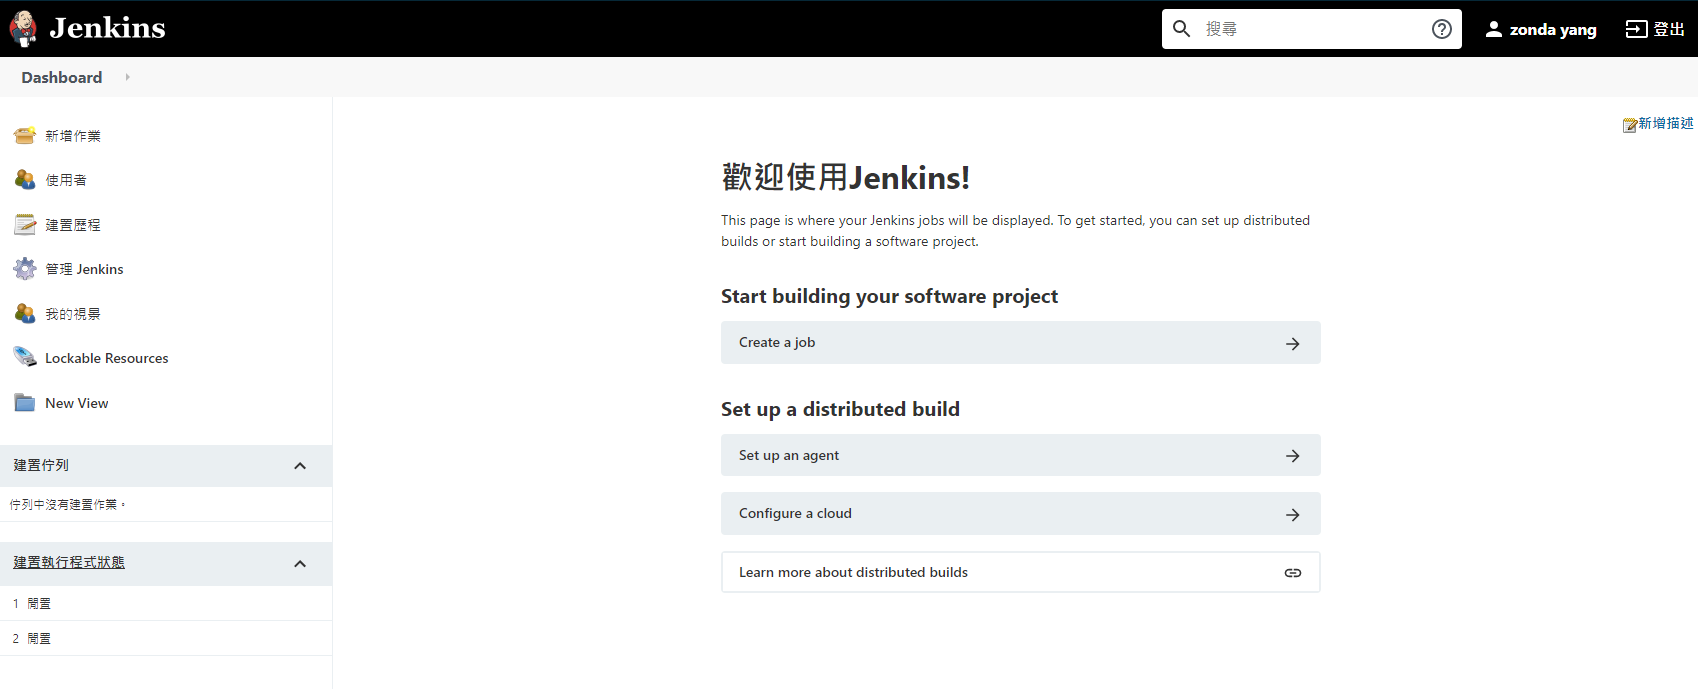
準備開使用囉~
Install plugin
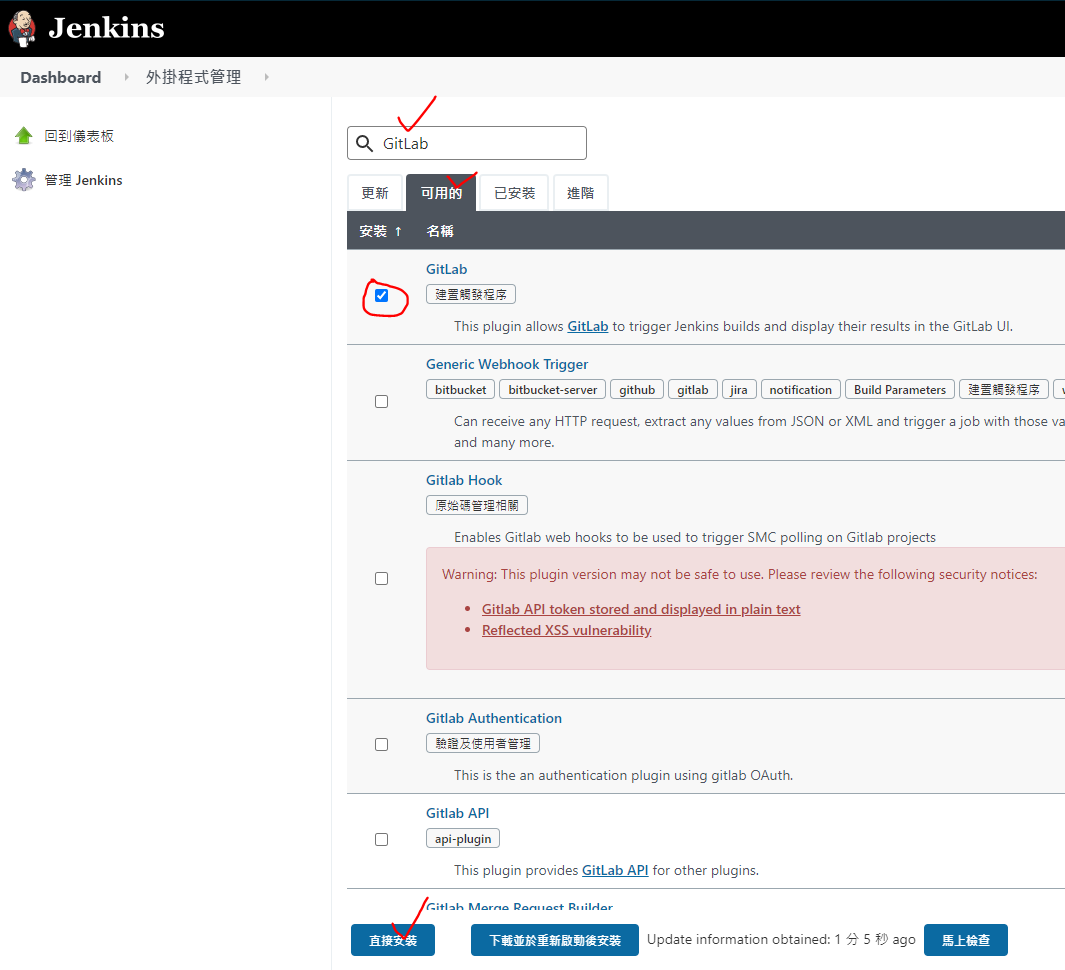
因為等等會使用GitLab來當git server,所以先來安裝GitLab的plugin。

接著點選可用的,並在filter中輸入GitLab,再選擇需要的plugin,
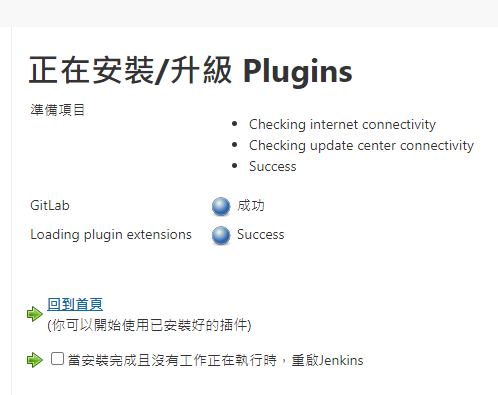
接下來因為我們目前都沒有任何任務在執行中,所以點選直接安裝,
但如果是已經有在使用的Jenkins點選下載並於重新啟動後安裝比較安全。
勾選當安裝完成且沒有工作正在執行時,重啟Jenkins

Setup GitLab
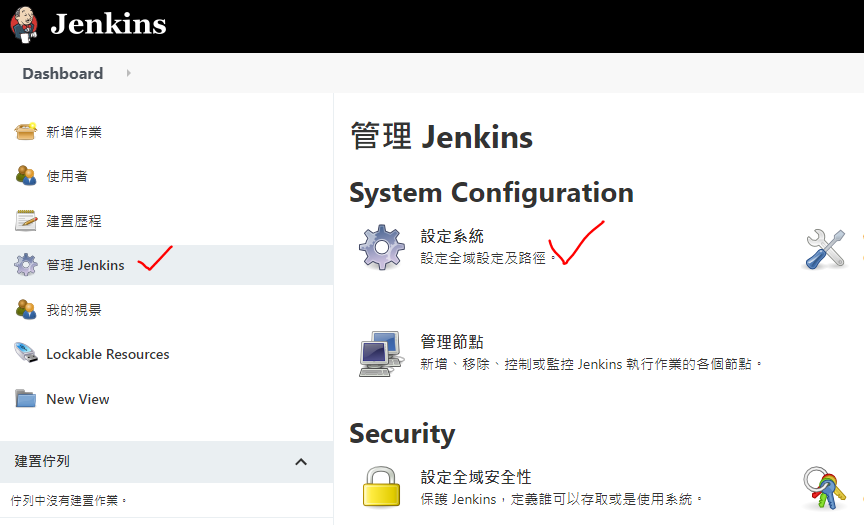
點選至設定系統
輸入GitLab的名稱和URL
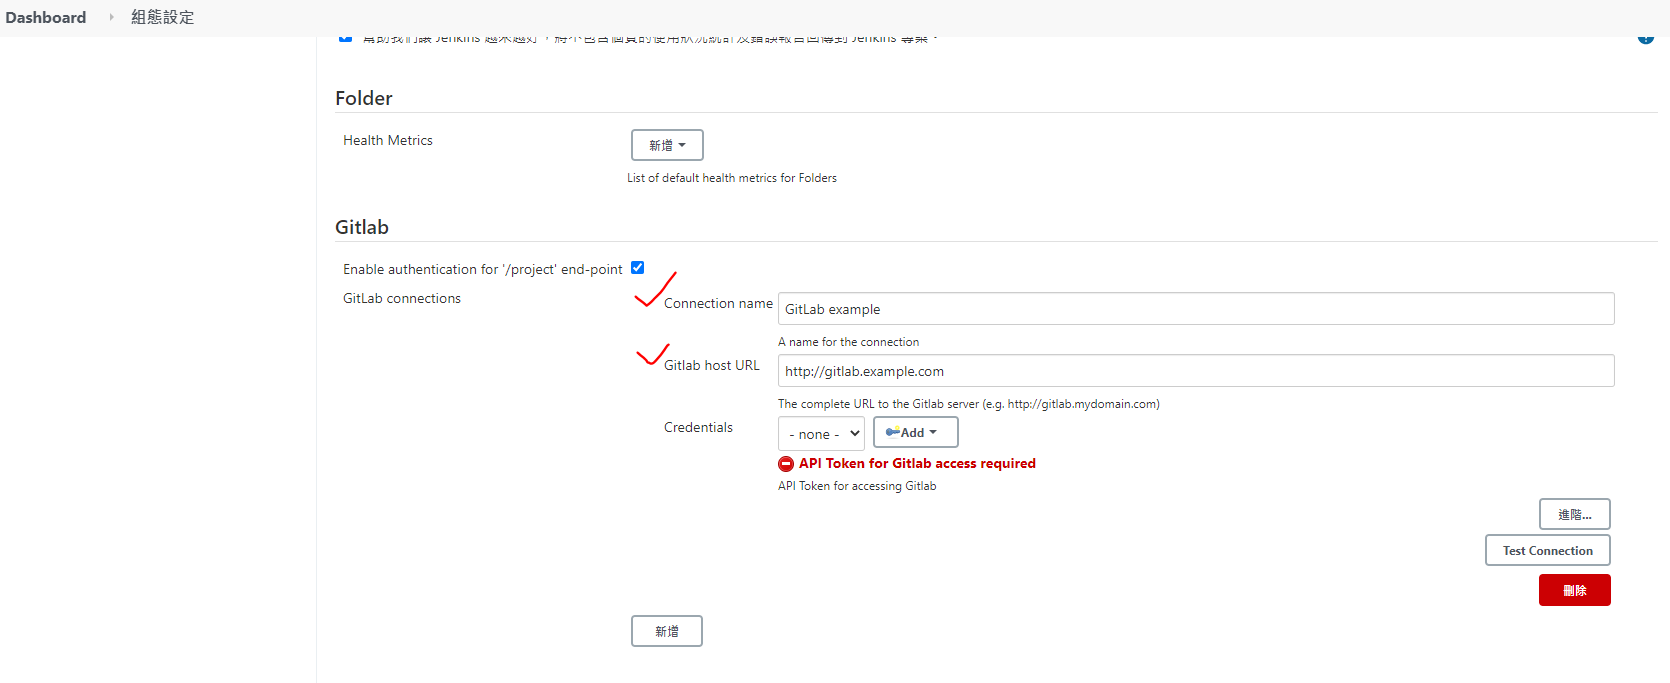
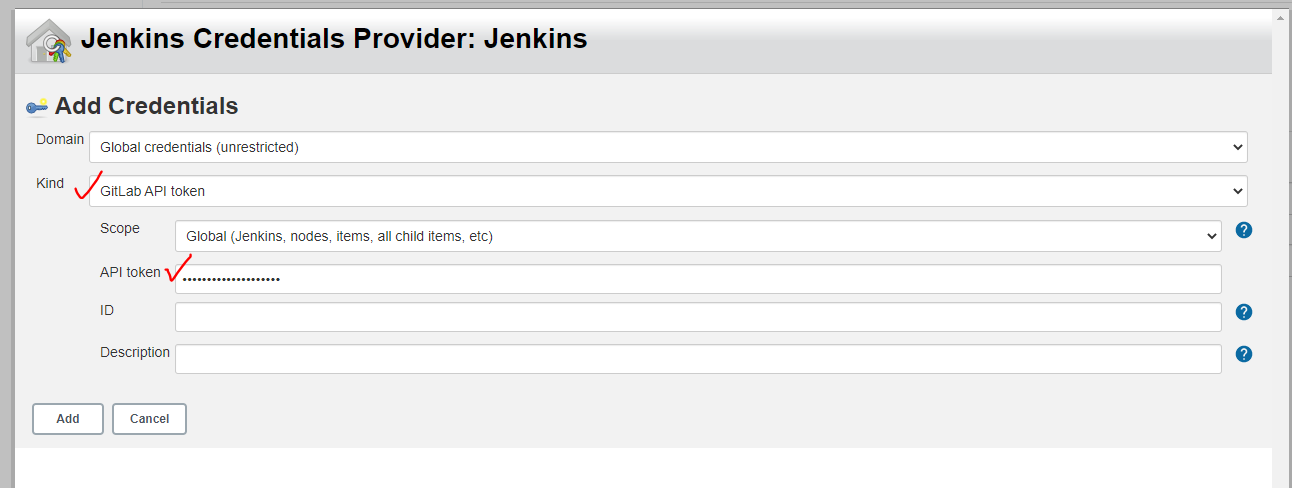
接著按下Credentials旁的Add來新增Credential
在新增前要先去GitLab拿access token

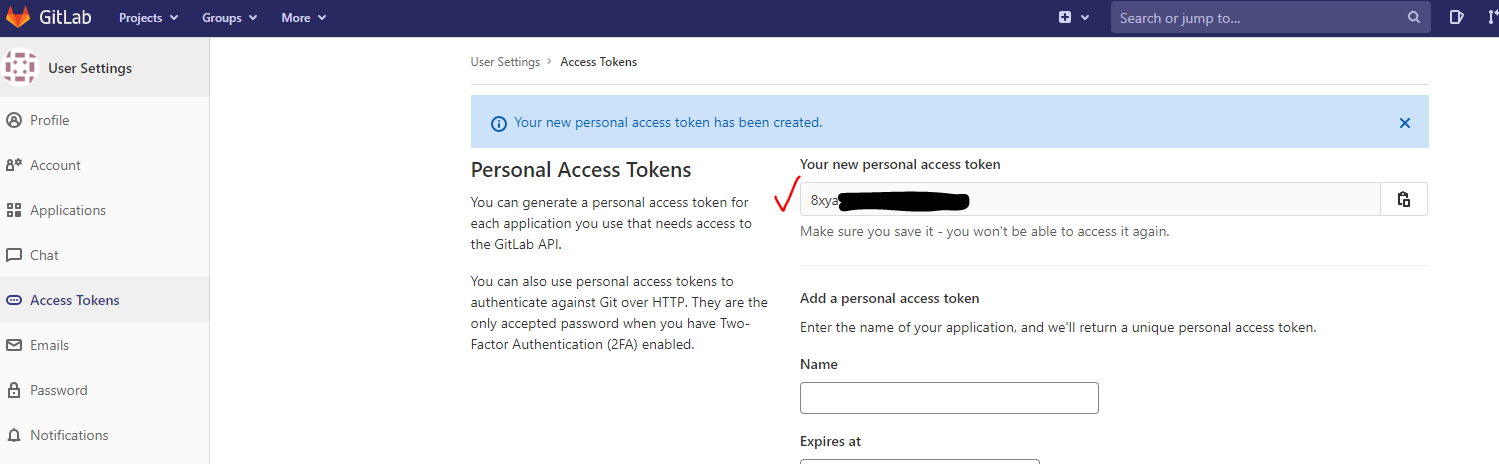
接著把剛剛的access token輸入到API token且Kind選擇GitLab API Token
新增完就來測試一下(因為我的GitLab也是架在docker中Jenkins會連不到,所以用ngrok幫忙架到外面)
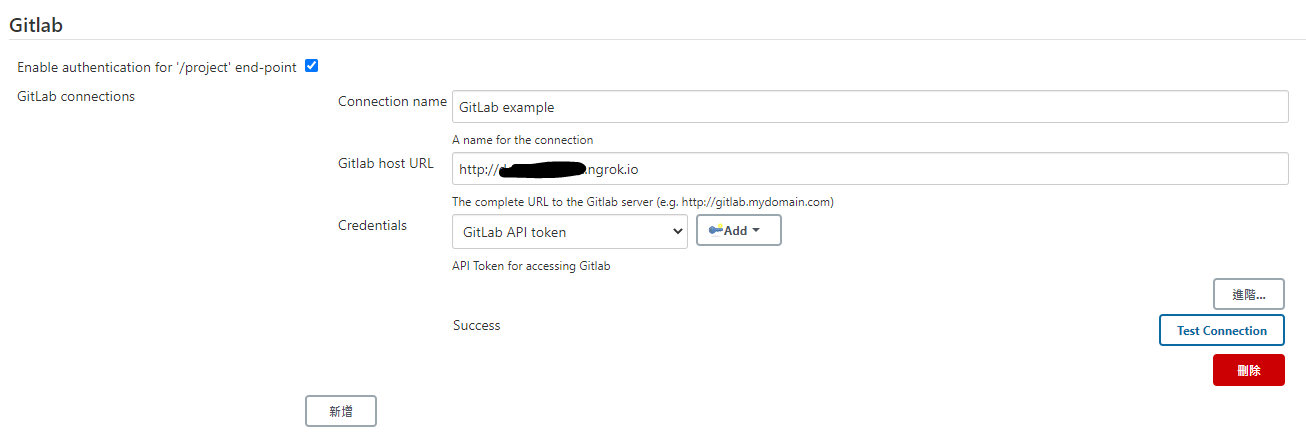
測試完後就按儲存
新增專案
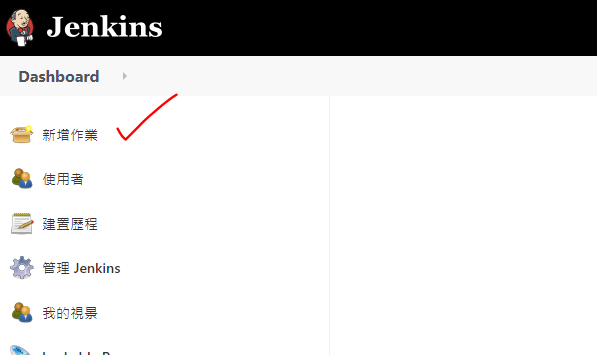
點選新增作業
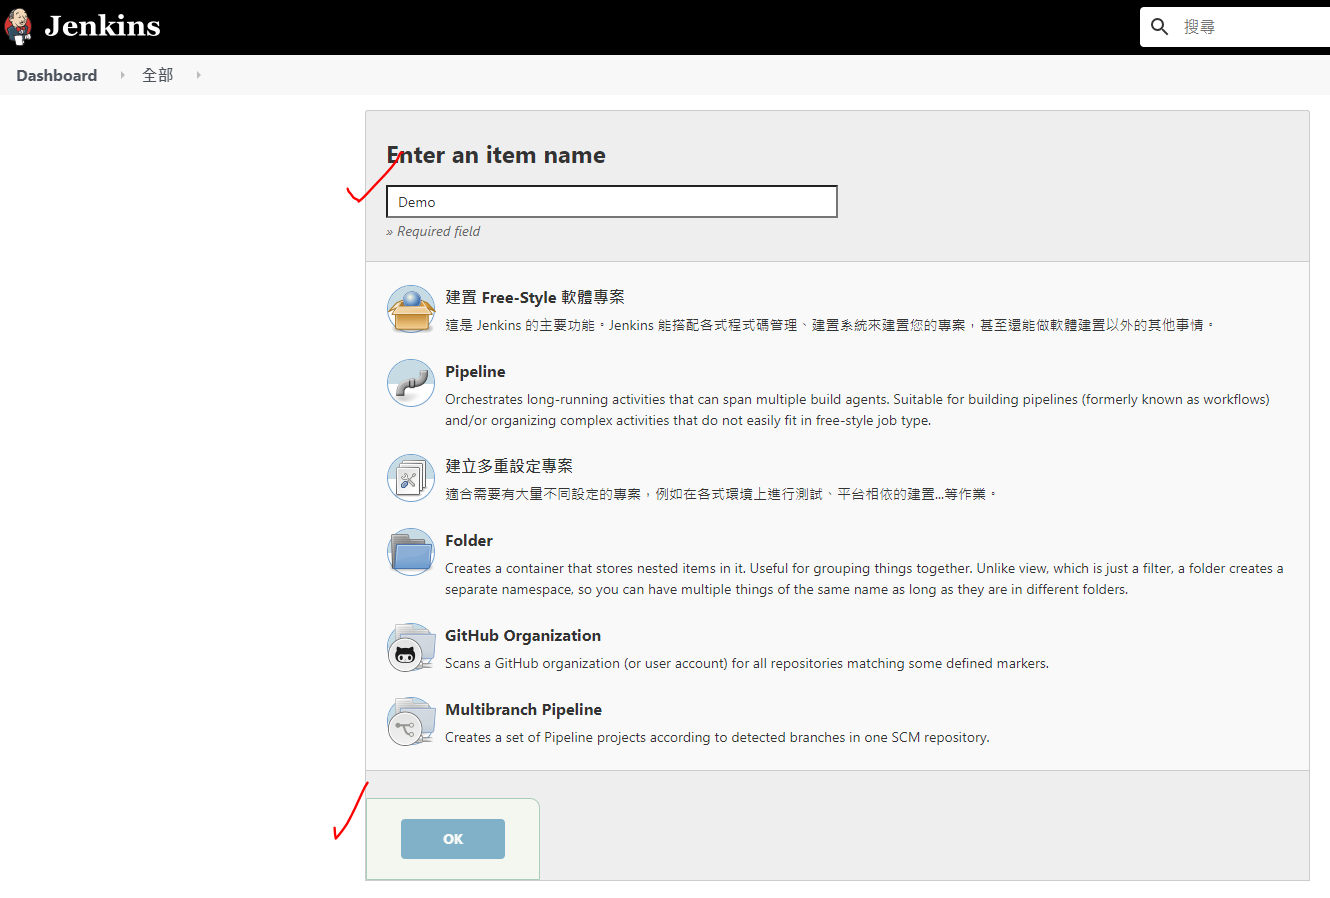
再輸入名稱以及選擇建置Free-Style軟體專案
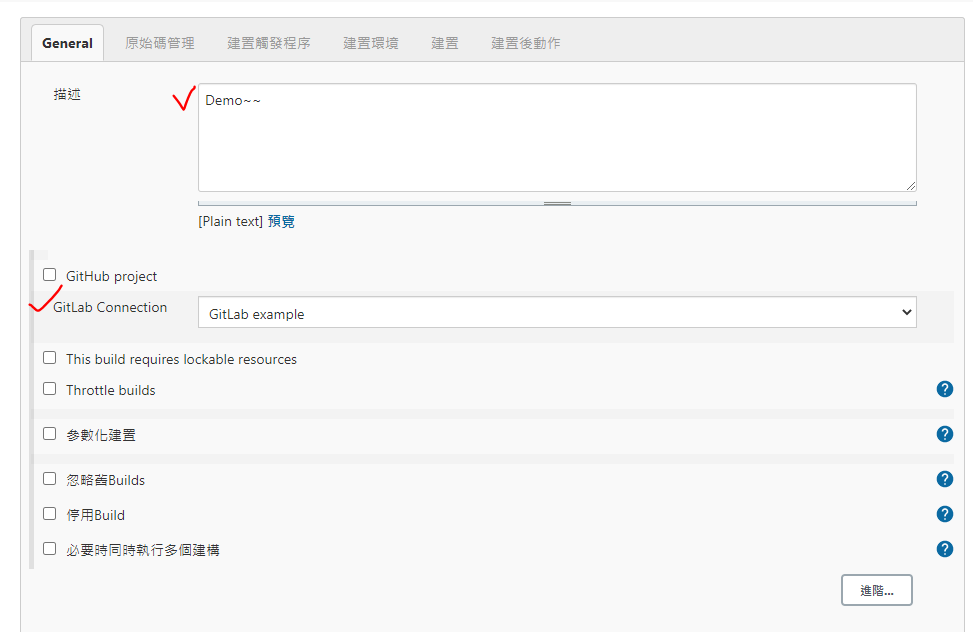
輸入描述和選擇GitLab Connection
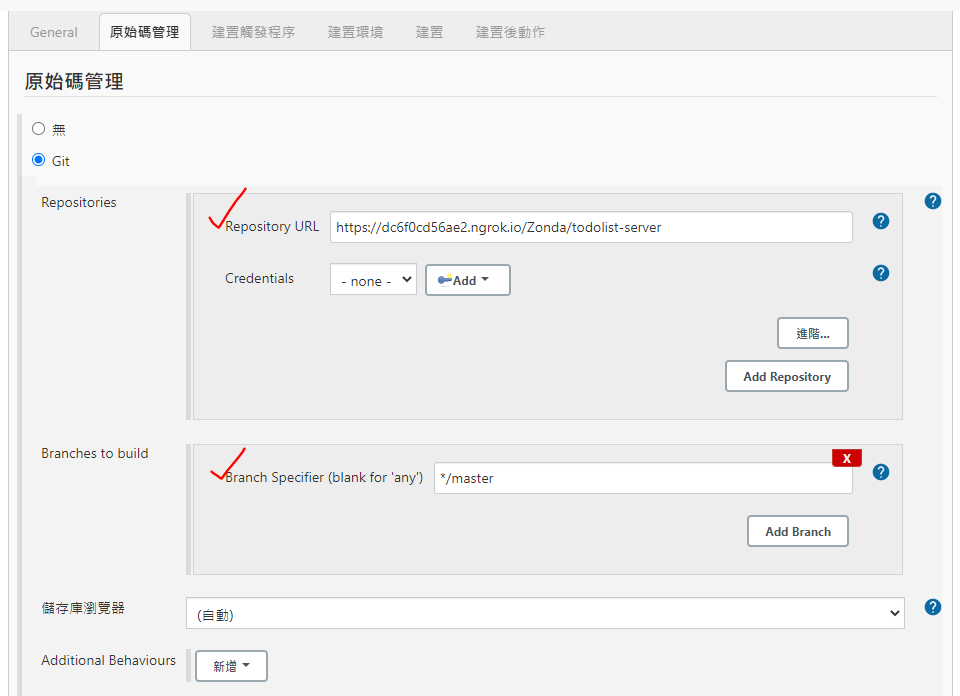
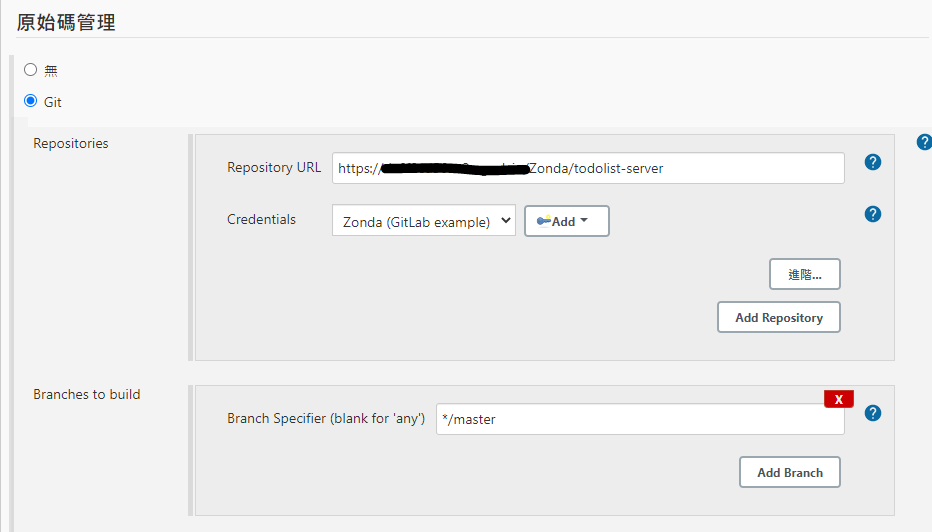
輸入指定的repository url和brunch
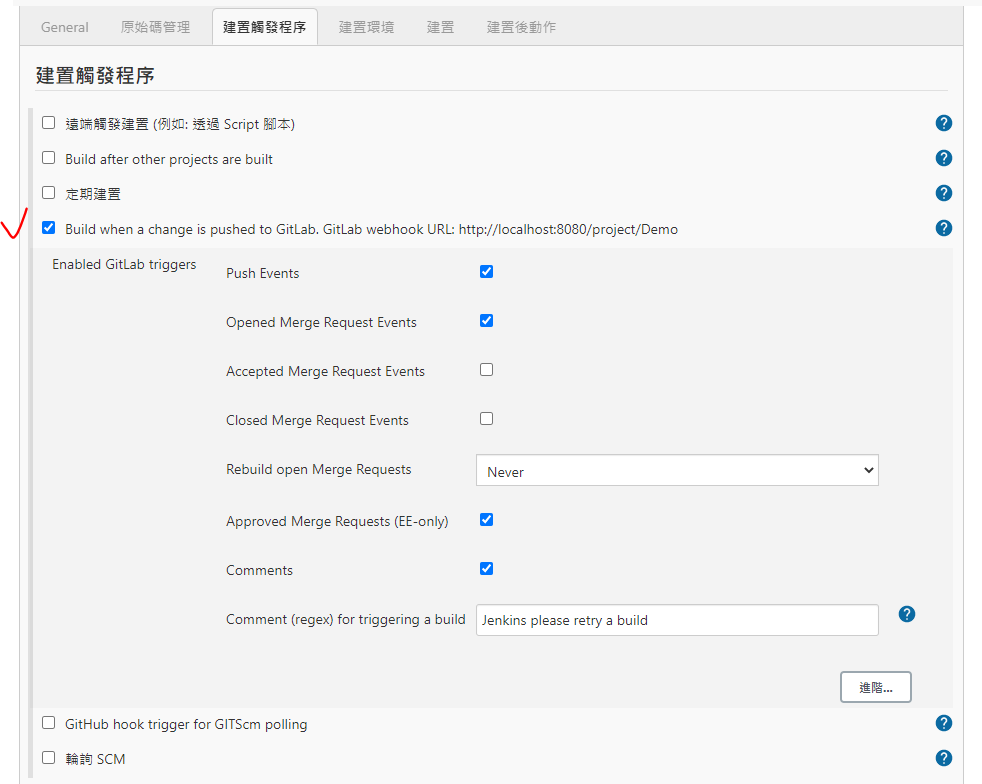
選擇Build when a change is pushed to GitLab. GitLab webhook URL: http://localhost:8080/project/Demo觸發
設定完後按儲存
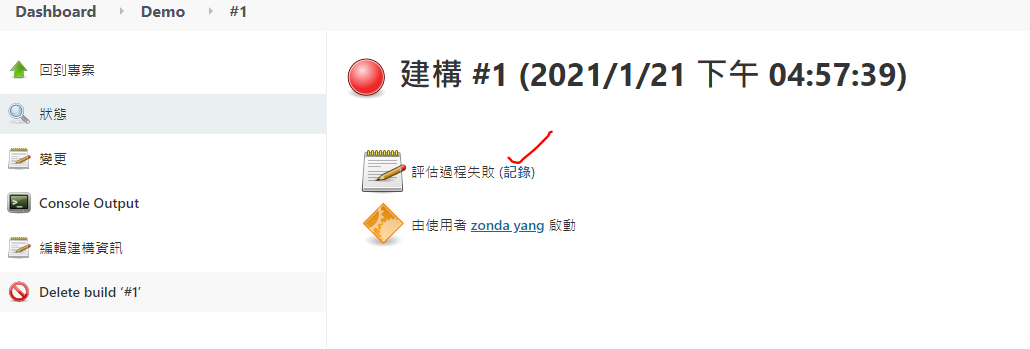
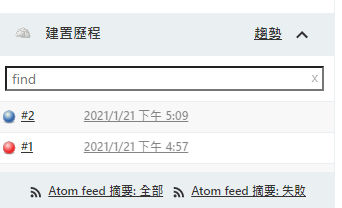
接著按下馬上建置
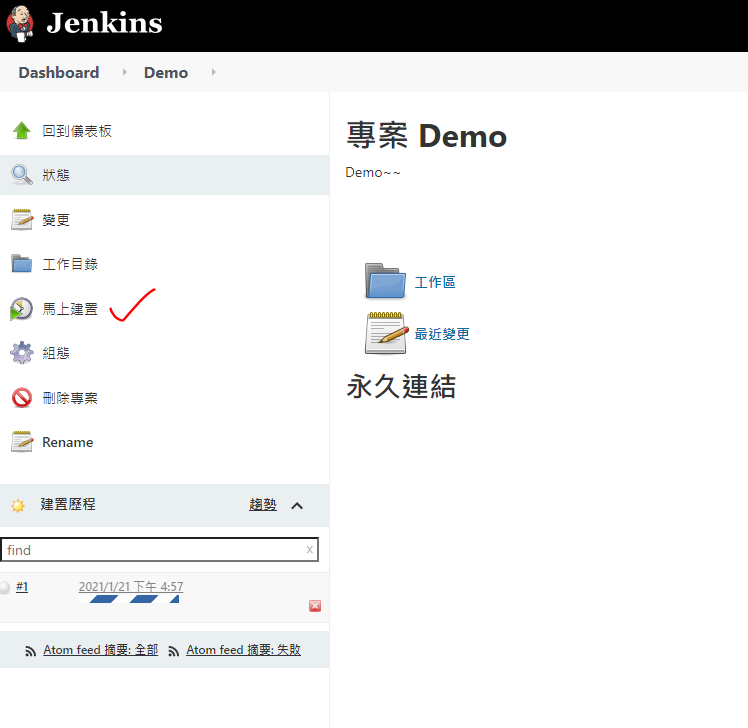
可以看到第一次建置失敗了
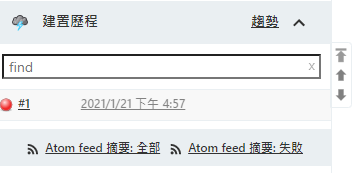
就來Debug吧
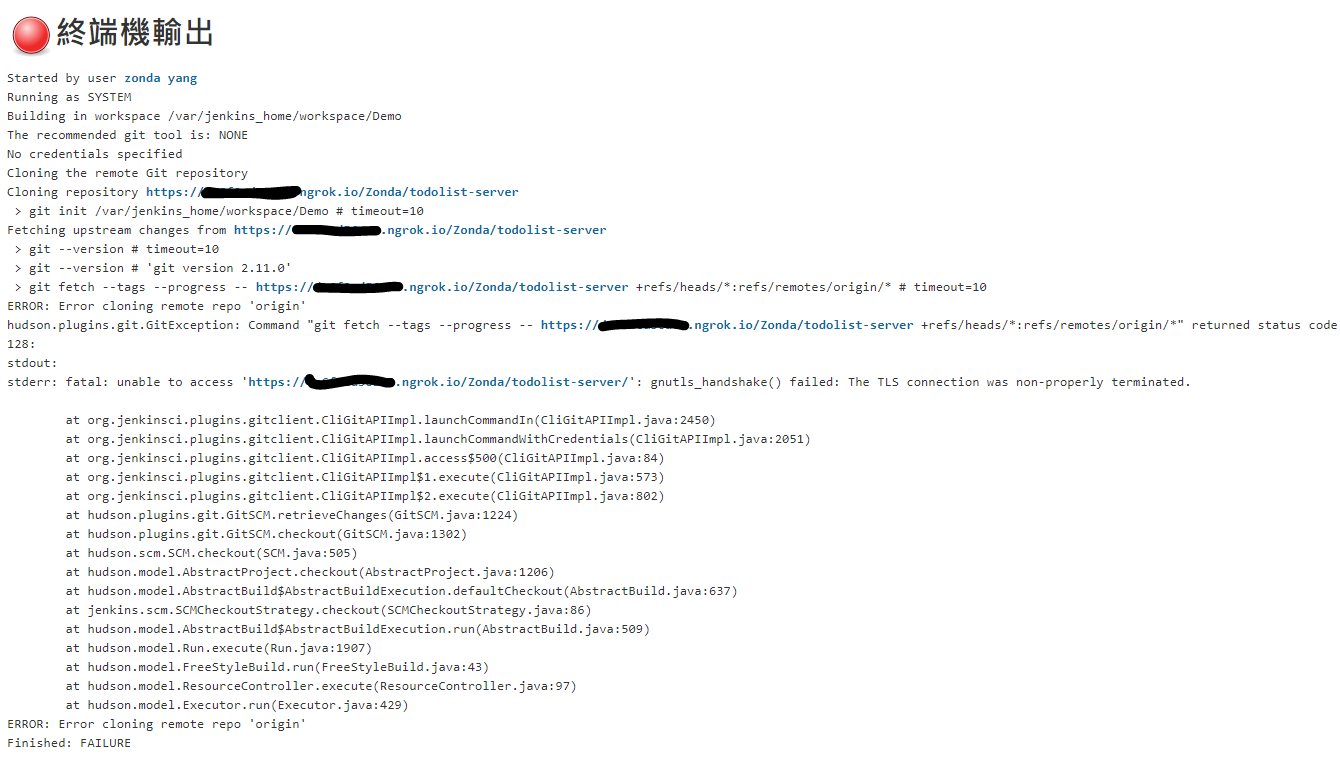
Google了一下可能是跟clone的權限有關,
才想起,我的GitLab有限制用ssh連線,
就來把ssh key給補上吧
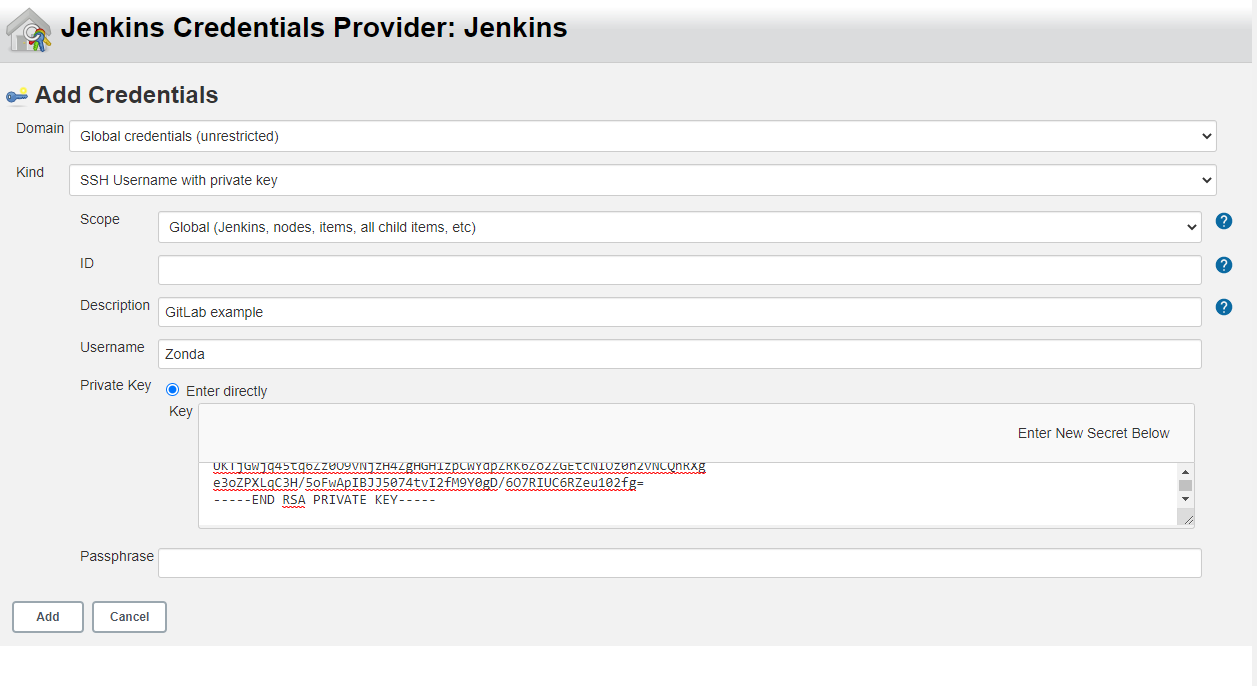
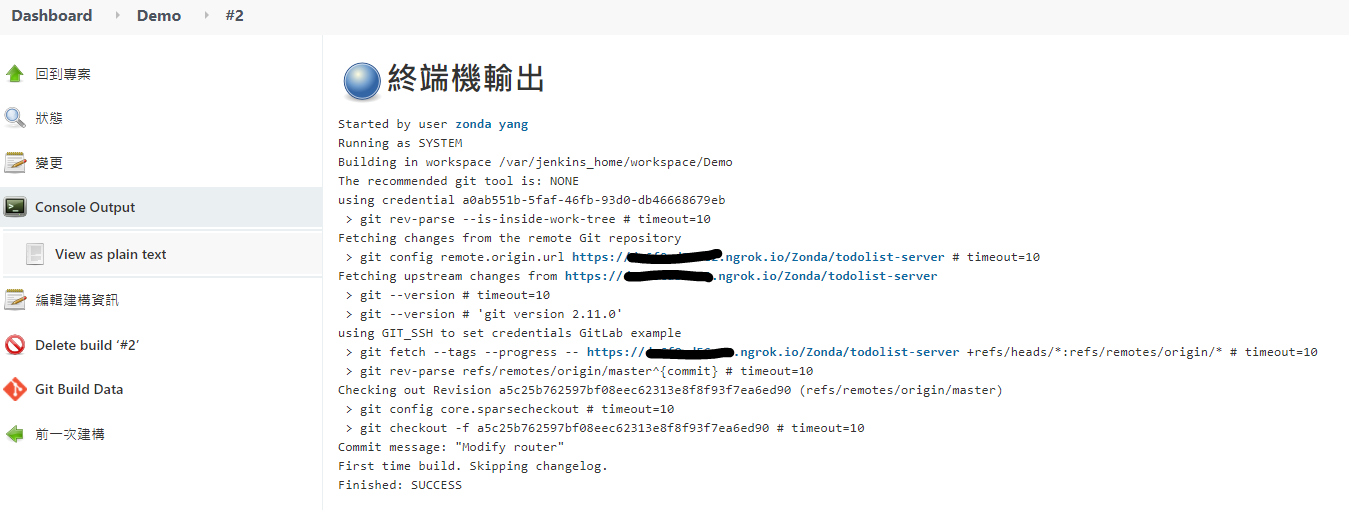
接著按下馬上建置,這次就看到成功囉
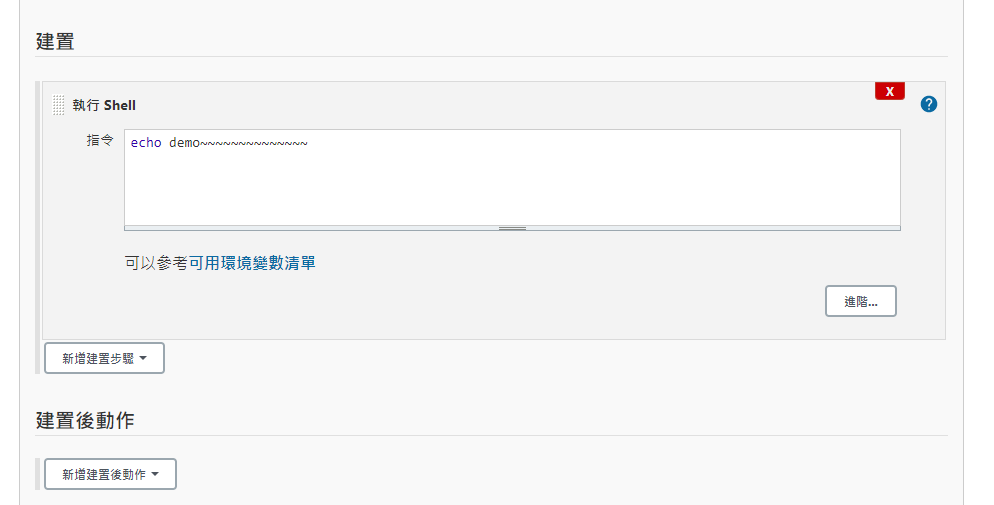
也可以幫他加入一些你想要的shell哦,
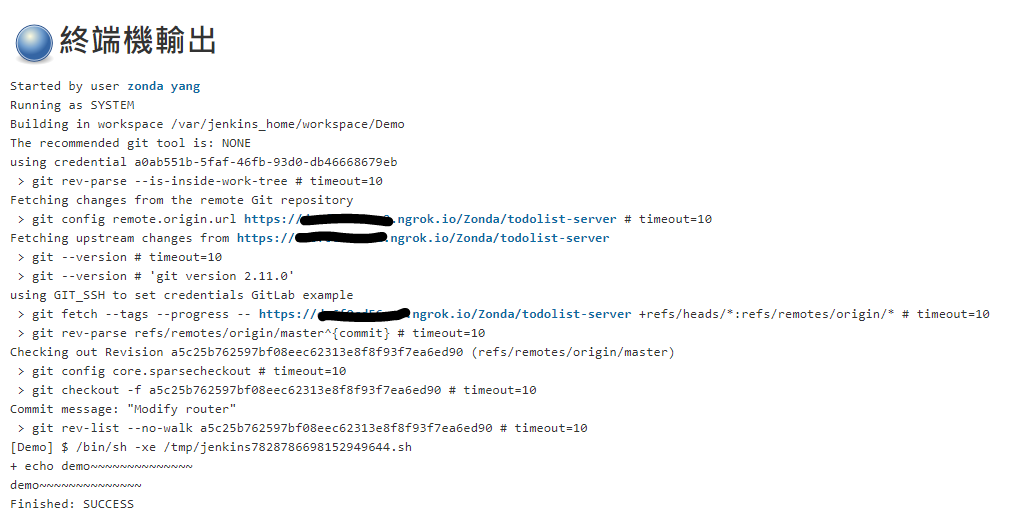
接著來測試一下用gitlab push來觸發
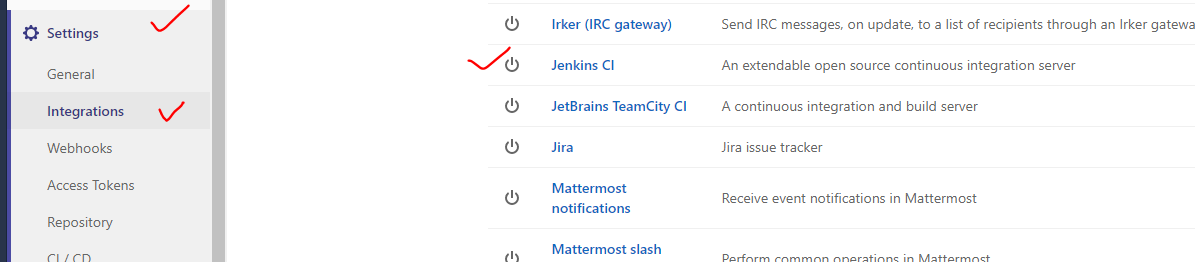
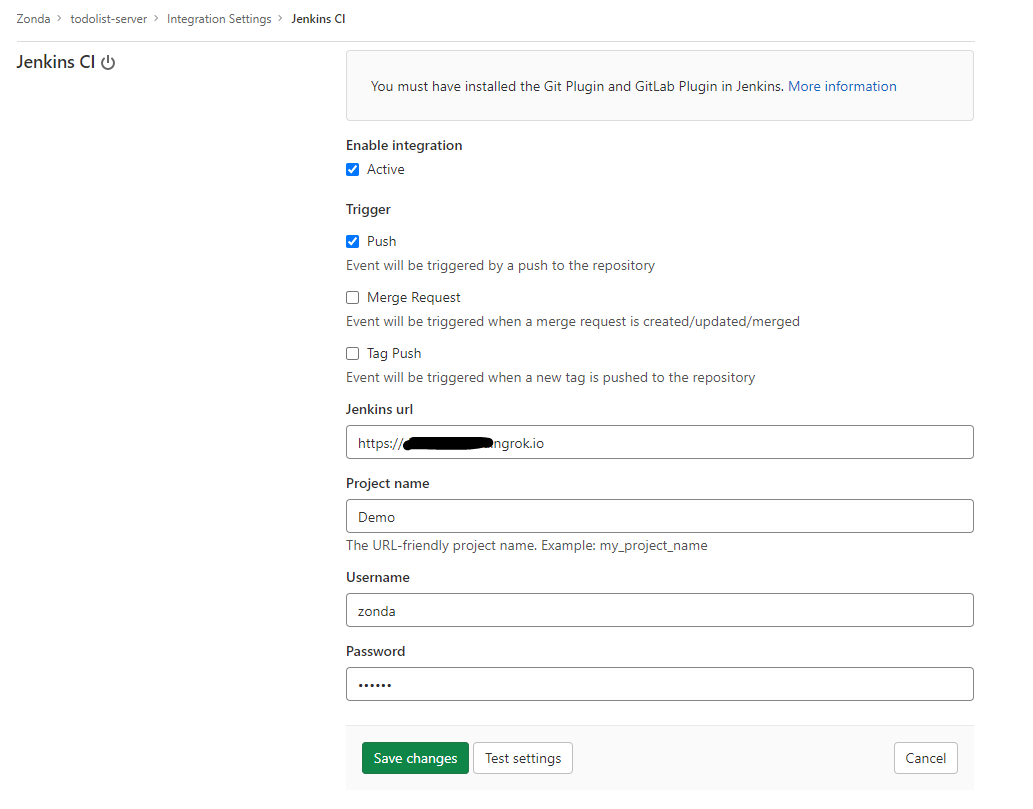
首先到gitlab中設定jenkins ci
project name要跟上面建置的project一樣哦
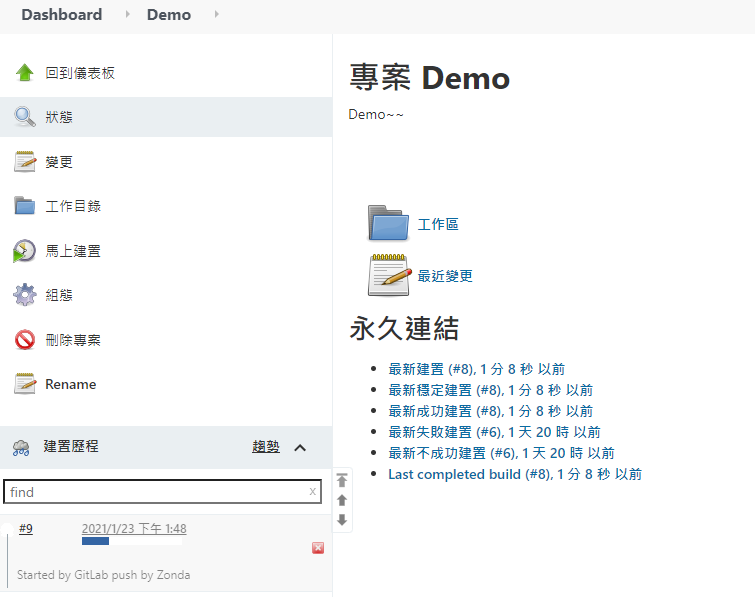
接著push個commit,就可以看到jenkins被觸發囉
就先到這拉~
之後再研究其他功能